Quite some time ago, I posted a recipe called Italian Cheesecake. At the time, I thought it sounded really good and that maybe I would try it someday. This past weekend was the time, and I tried it! It was very easy, not a difficult process at all, and the result is really lovely.
The ingredients include ricotta cheese, Philadelphia cream cheese and sour cream, so this is not a diet recipe.
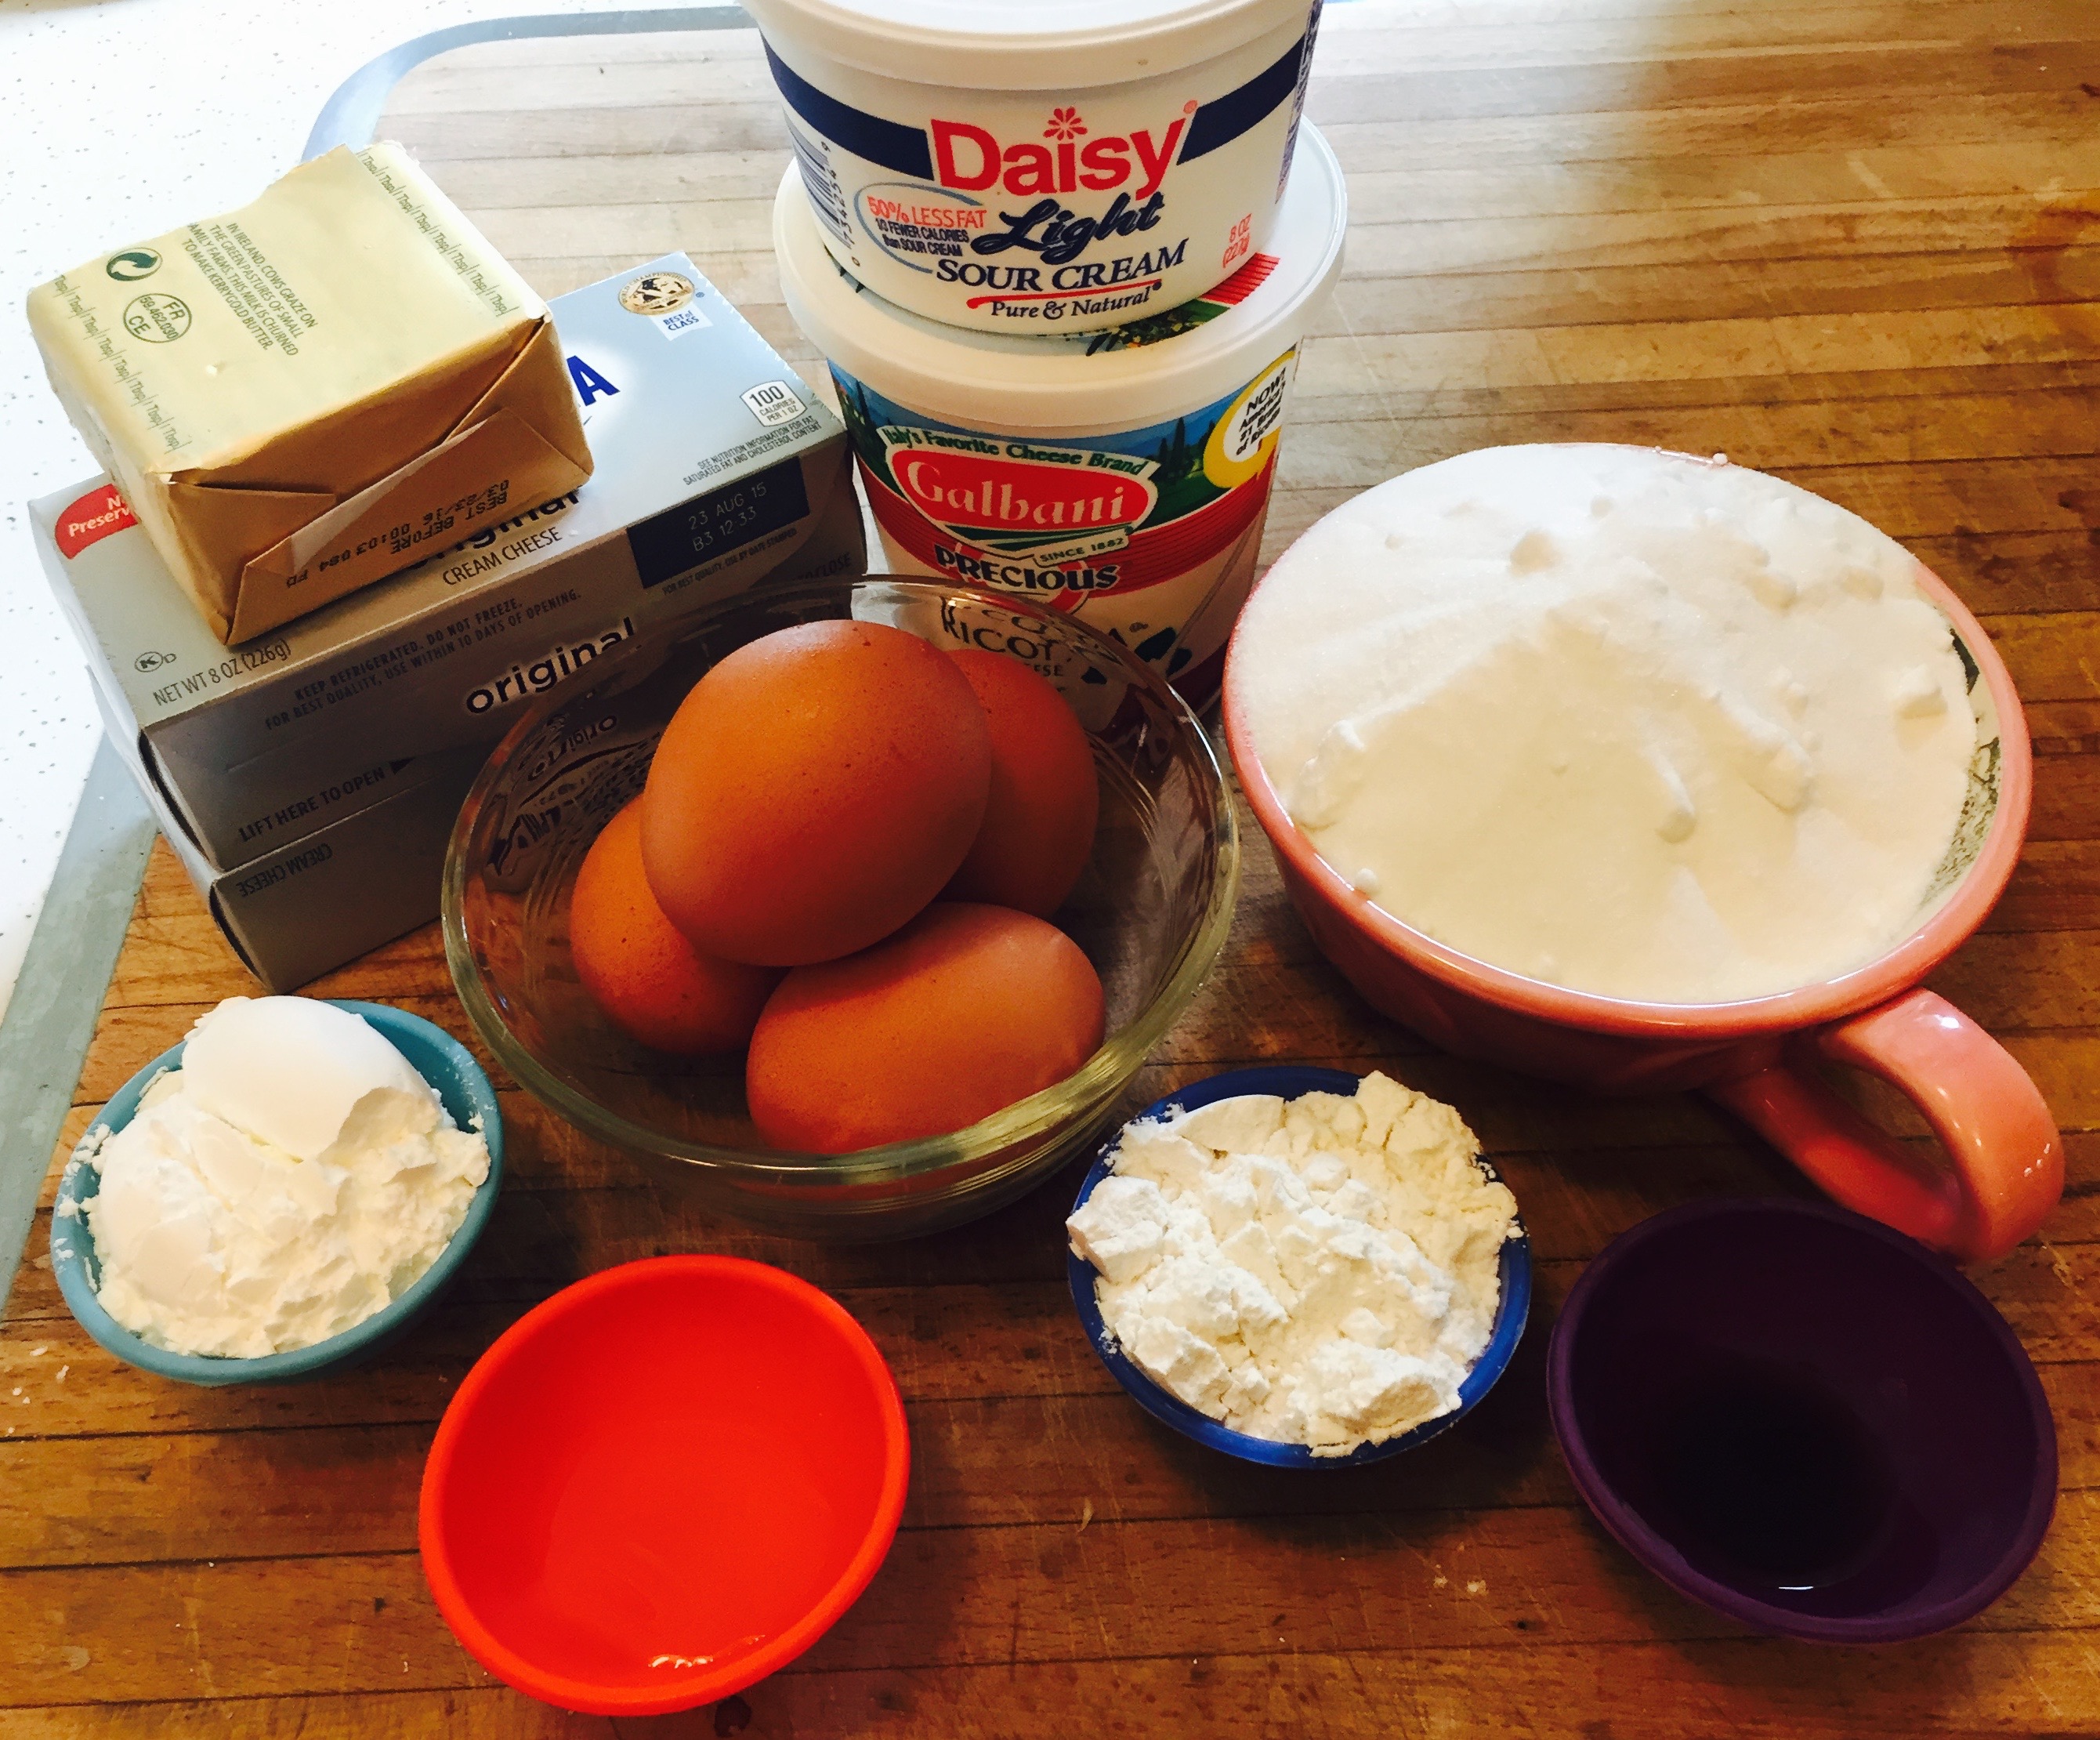
Yes, I bought light sour cream but it was an accident
Of note is the fact that Precious ricotta cheese no longer comes in a 16 oz container. They have reduced the volume to 15 oz, but I don’t think this will impact the recipe in any way. I like to set out all my ingredients before I start mixing because then they are all handy and I’m not rushing to find something. I use a KitchenAid Pro stand mixer, which is wonderful when you have to add, then add some more, then add yet some more. No fussing with picking the mixer up, putting it down, back and forth. It’s a stylistic choice, but one I didn’t realize I would ever make until I received my mixer as a gift.
Once everything was combined nicely, I poured it into a spring lock pan. I happened to cut a piece of parchment paper to fit the bottom of the pan because I had heard of someone else doing that. It isn’t required and I honestly don’t really know if it made any difference. Also, the recipe indicates the pan should not be greased and I had greased mine and poured in the mixture before I caught that tidbit. It might be important.
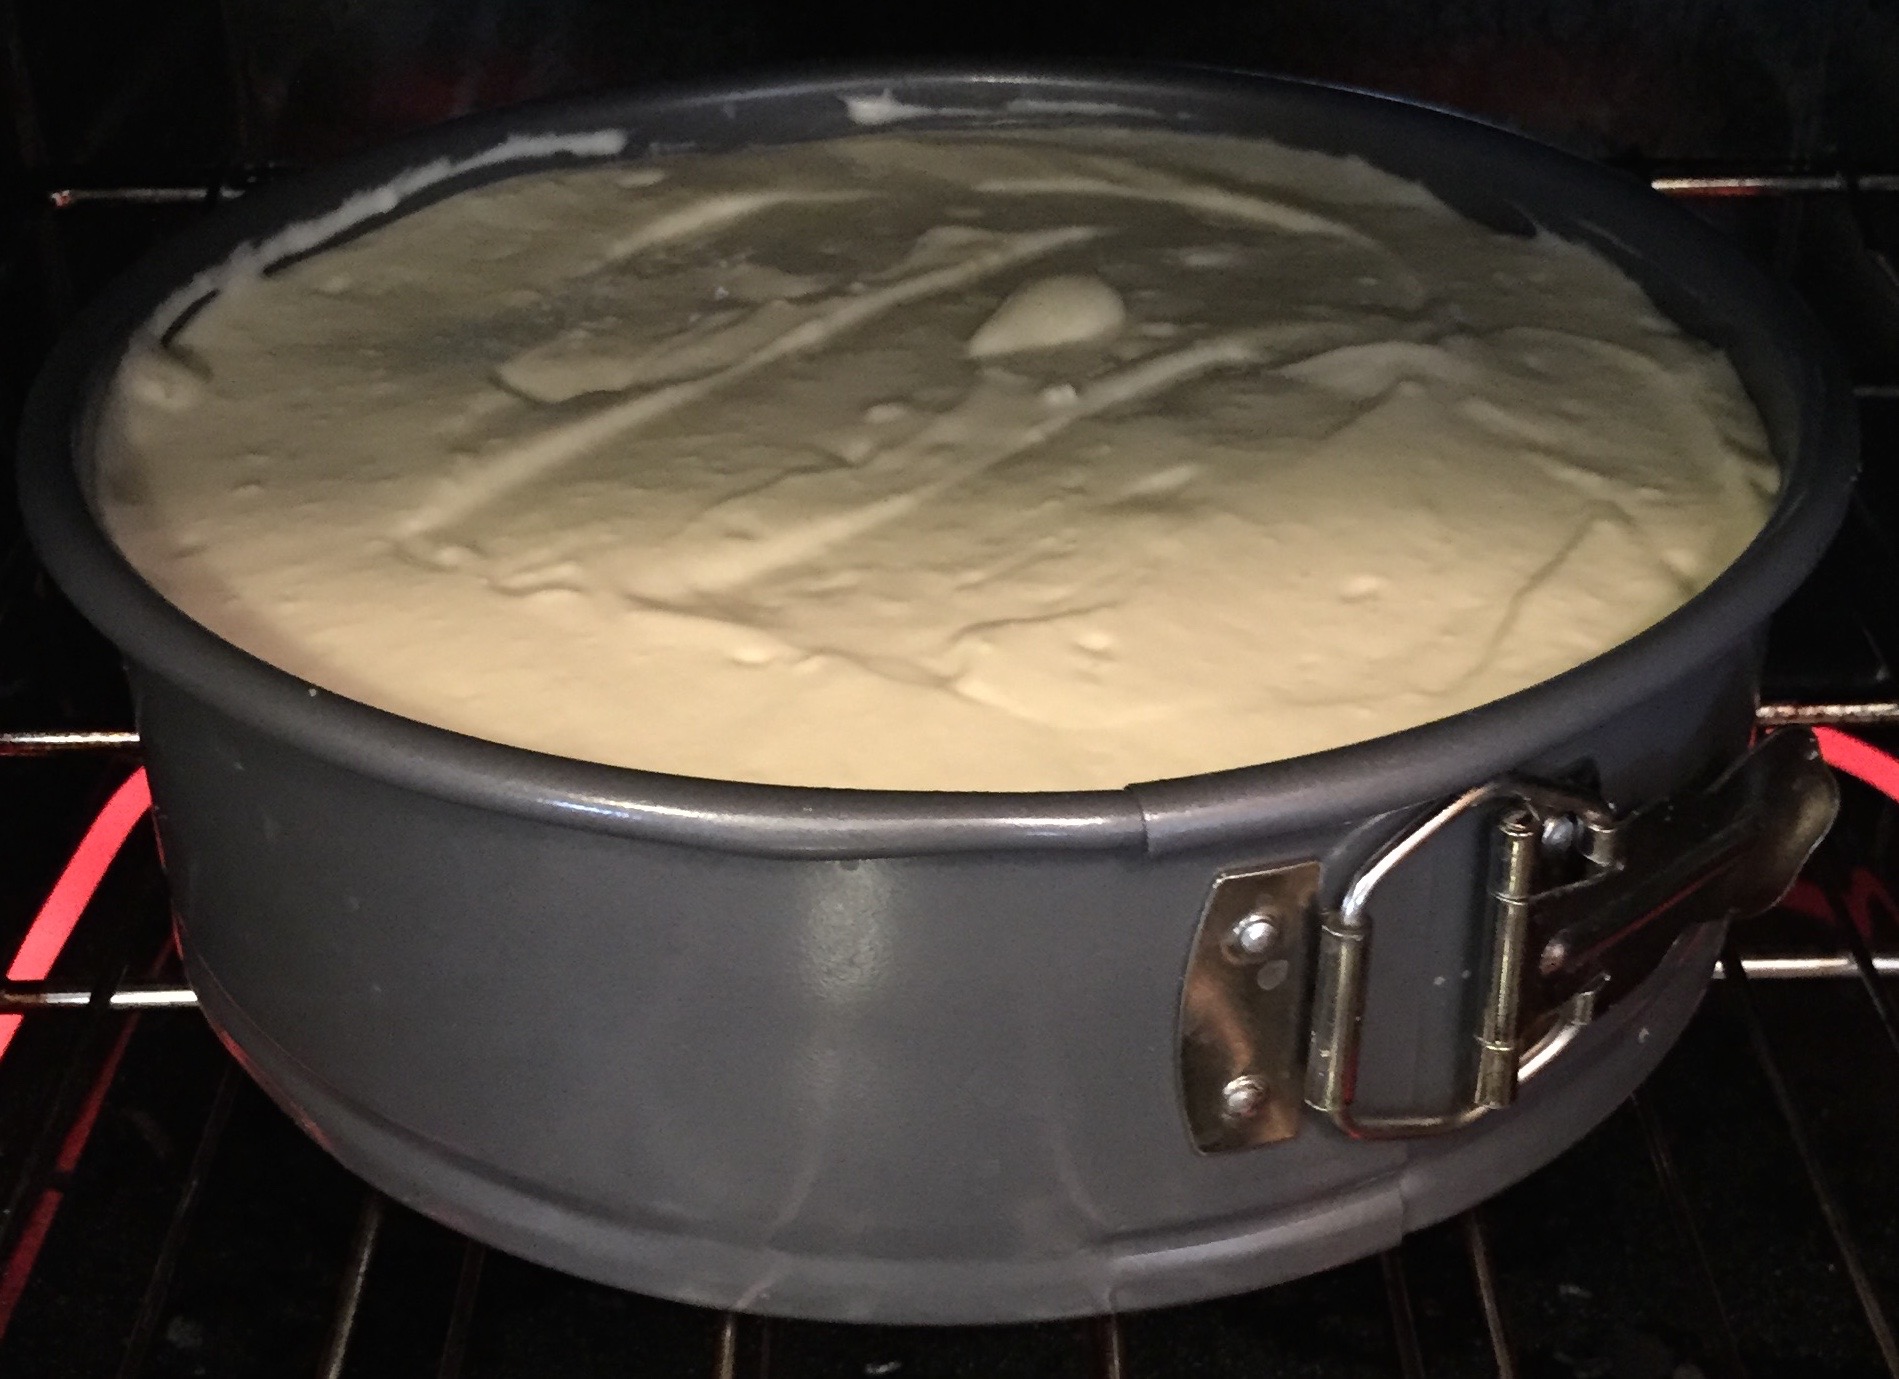
Smooth and creamy, into the oven you go!
I always forget to take pictures during the process, sorry! Here the cheesecake has just entered the oven and you can see that my pan is filled to the brim. During baking, the cake rose well above the top of the pan, easily 3/4″. I baked this for the proscribed amount of time and temp, which was 1 hour at 325º. Then, turn off the oven but don’t touch that cake! Allow it to set in the oven for an additional 2 hours. Unfortunately, it still cracked on the top. A good friend of mine has suggested using a water bath to keep the cheesecake from cracking.
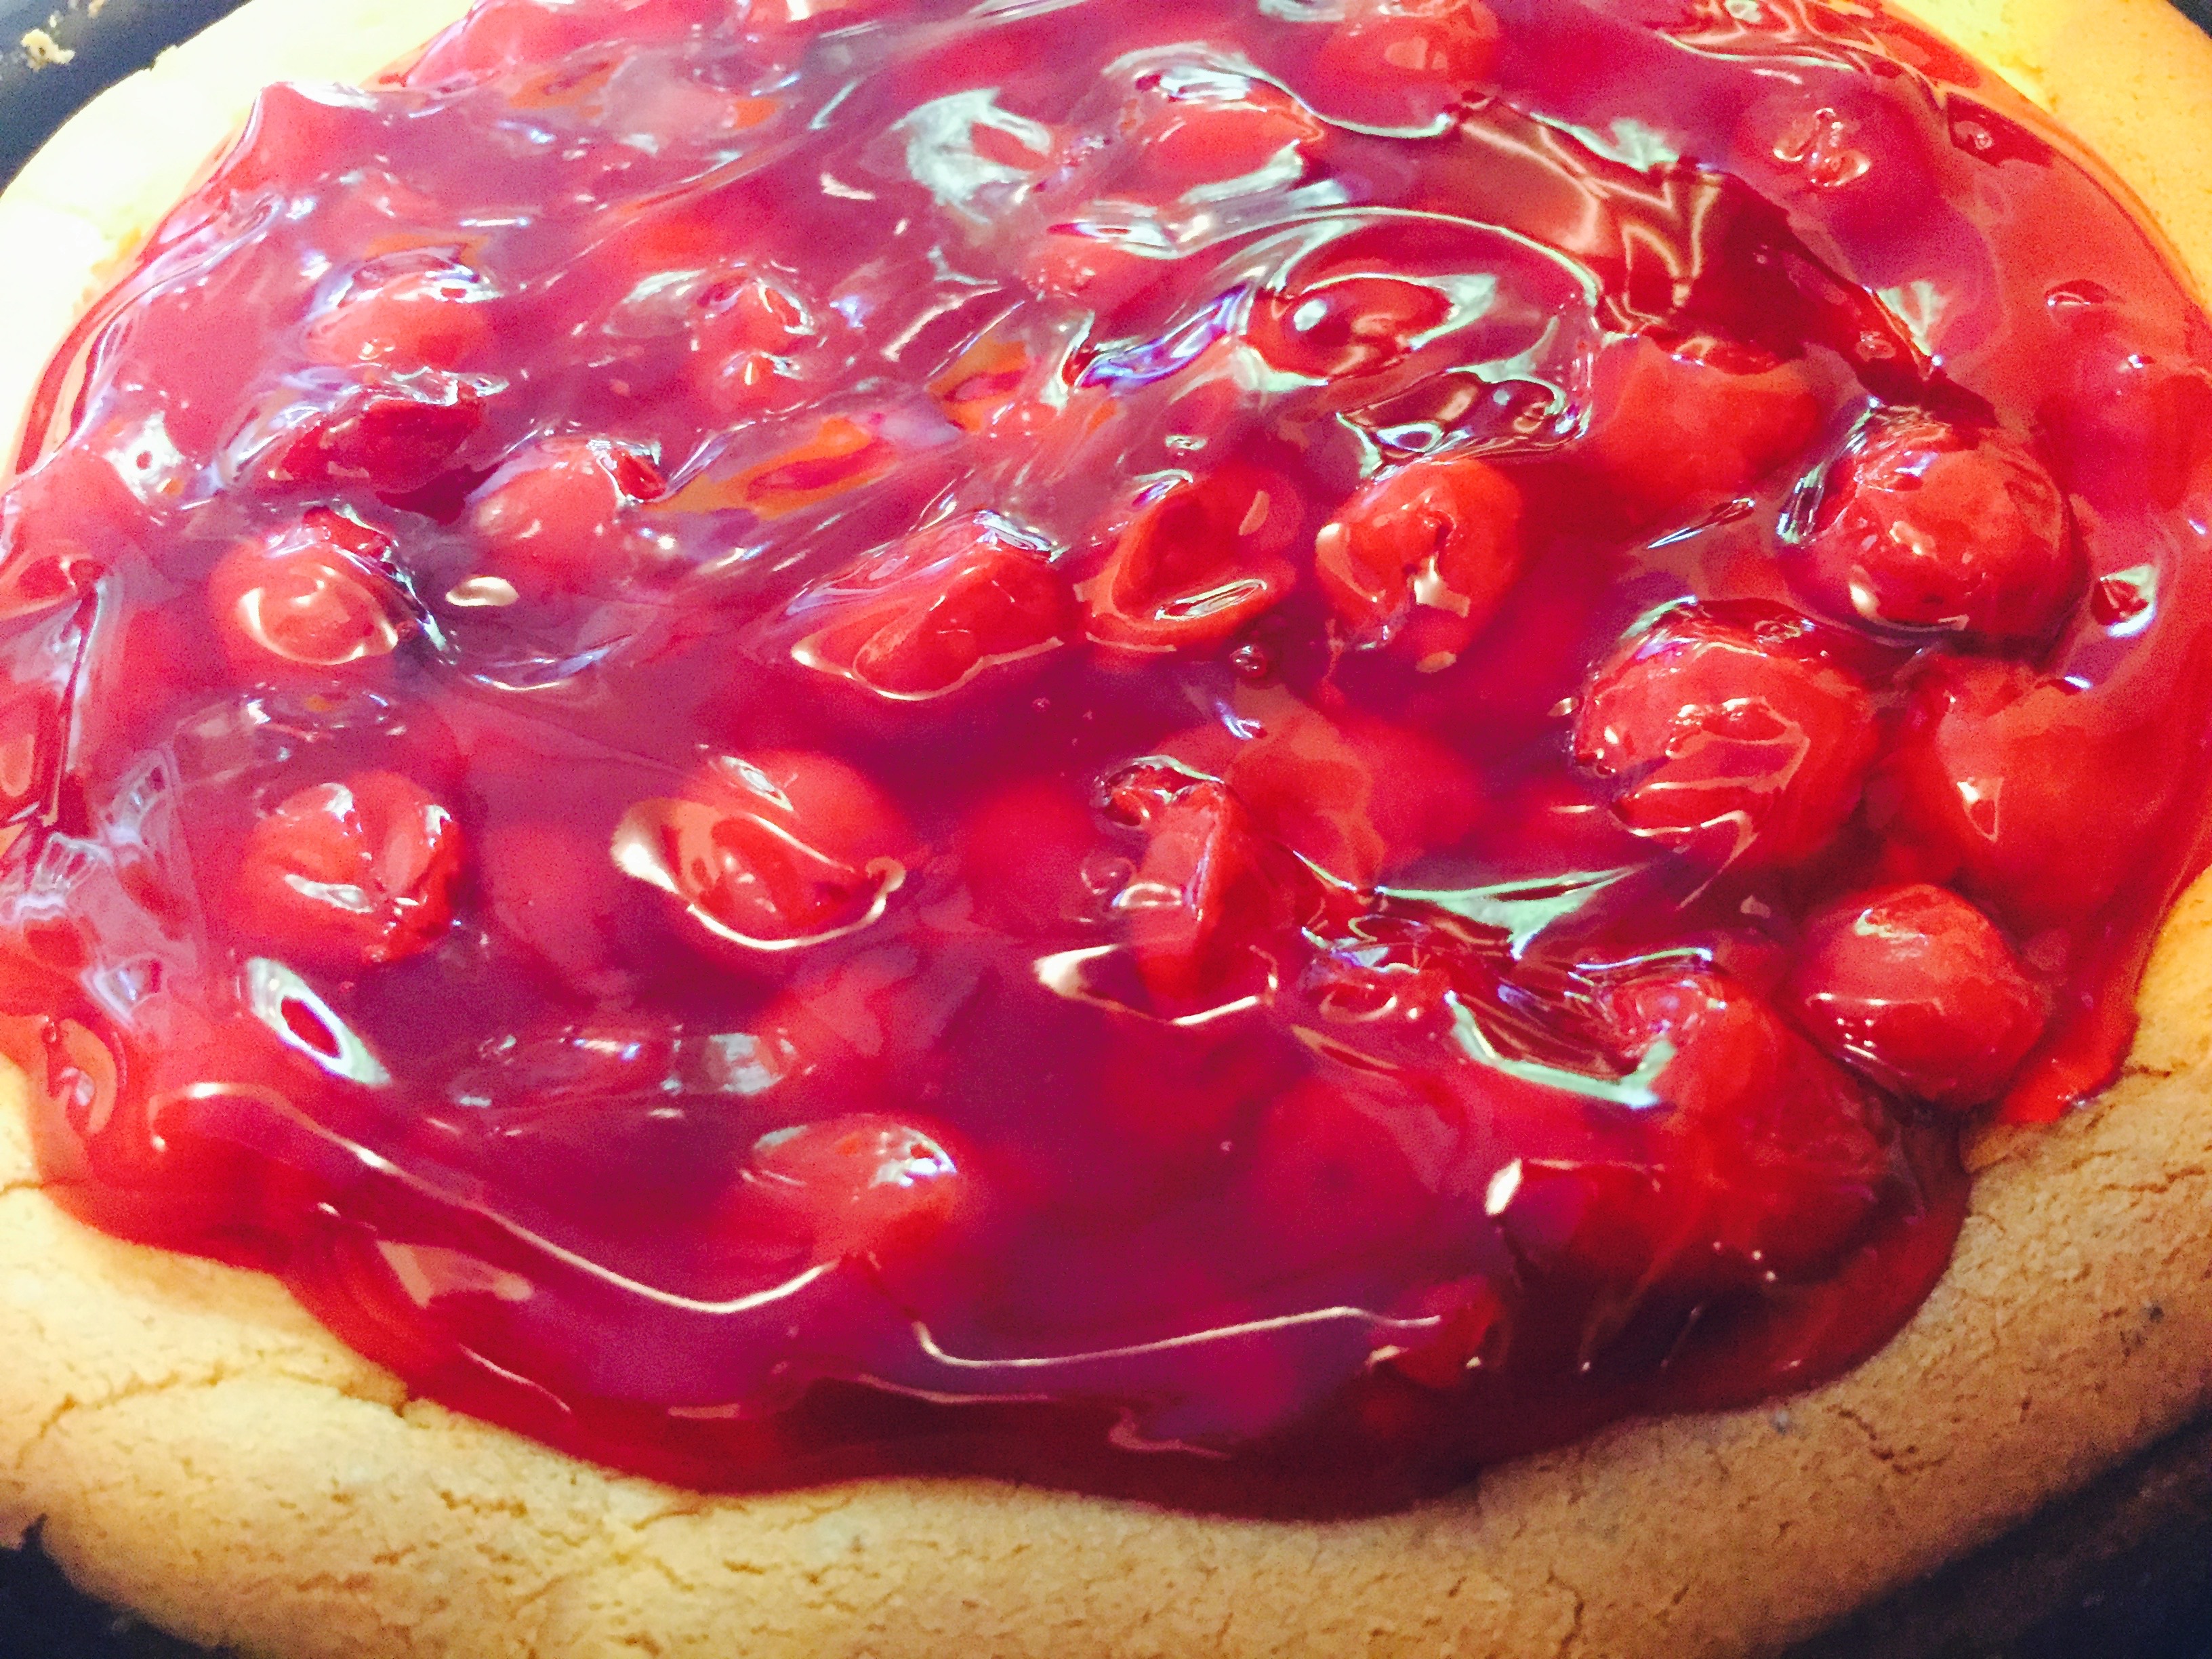
Cherry topped
The center fell a smidge, but that made a nice reservoir for the cherry topping. Back when I originally posted this recipe, I suggested I’d probably use cherry topping and not strawberry. Having forgotten all about that off hand remark, I was tickled to see that after I had purchased all the ingredients. You can see here that the top edges are a bit browned. They also fell away from the sides of the pan, which is where the greasing might have been a problem. If they were allowed to stick to the sides of the pan, they might not have pulled away so much. But, did it affect the taste? Inquiring minds want to know, I’m sure!
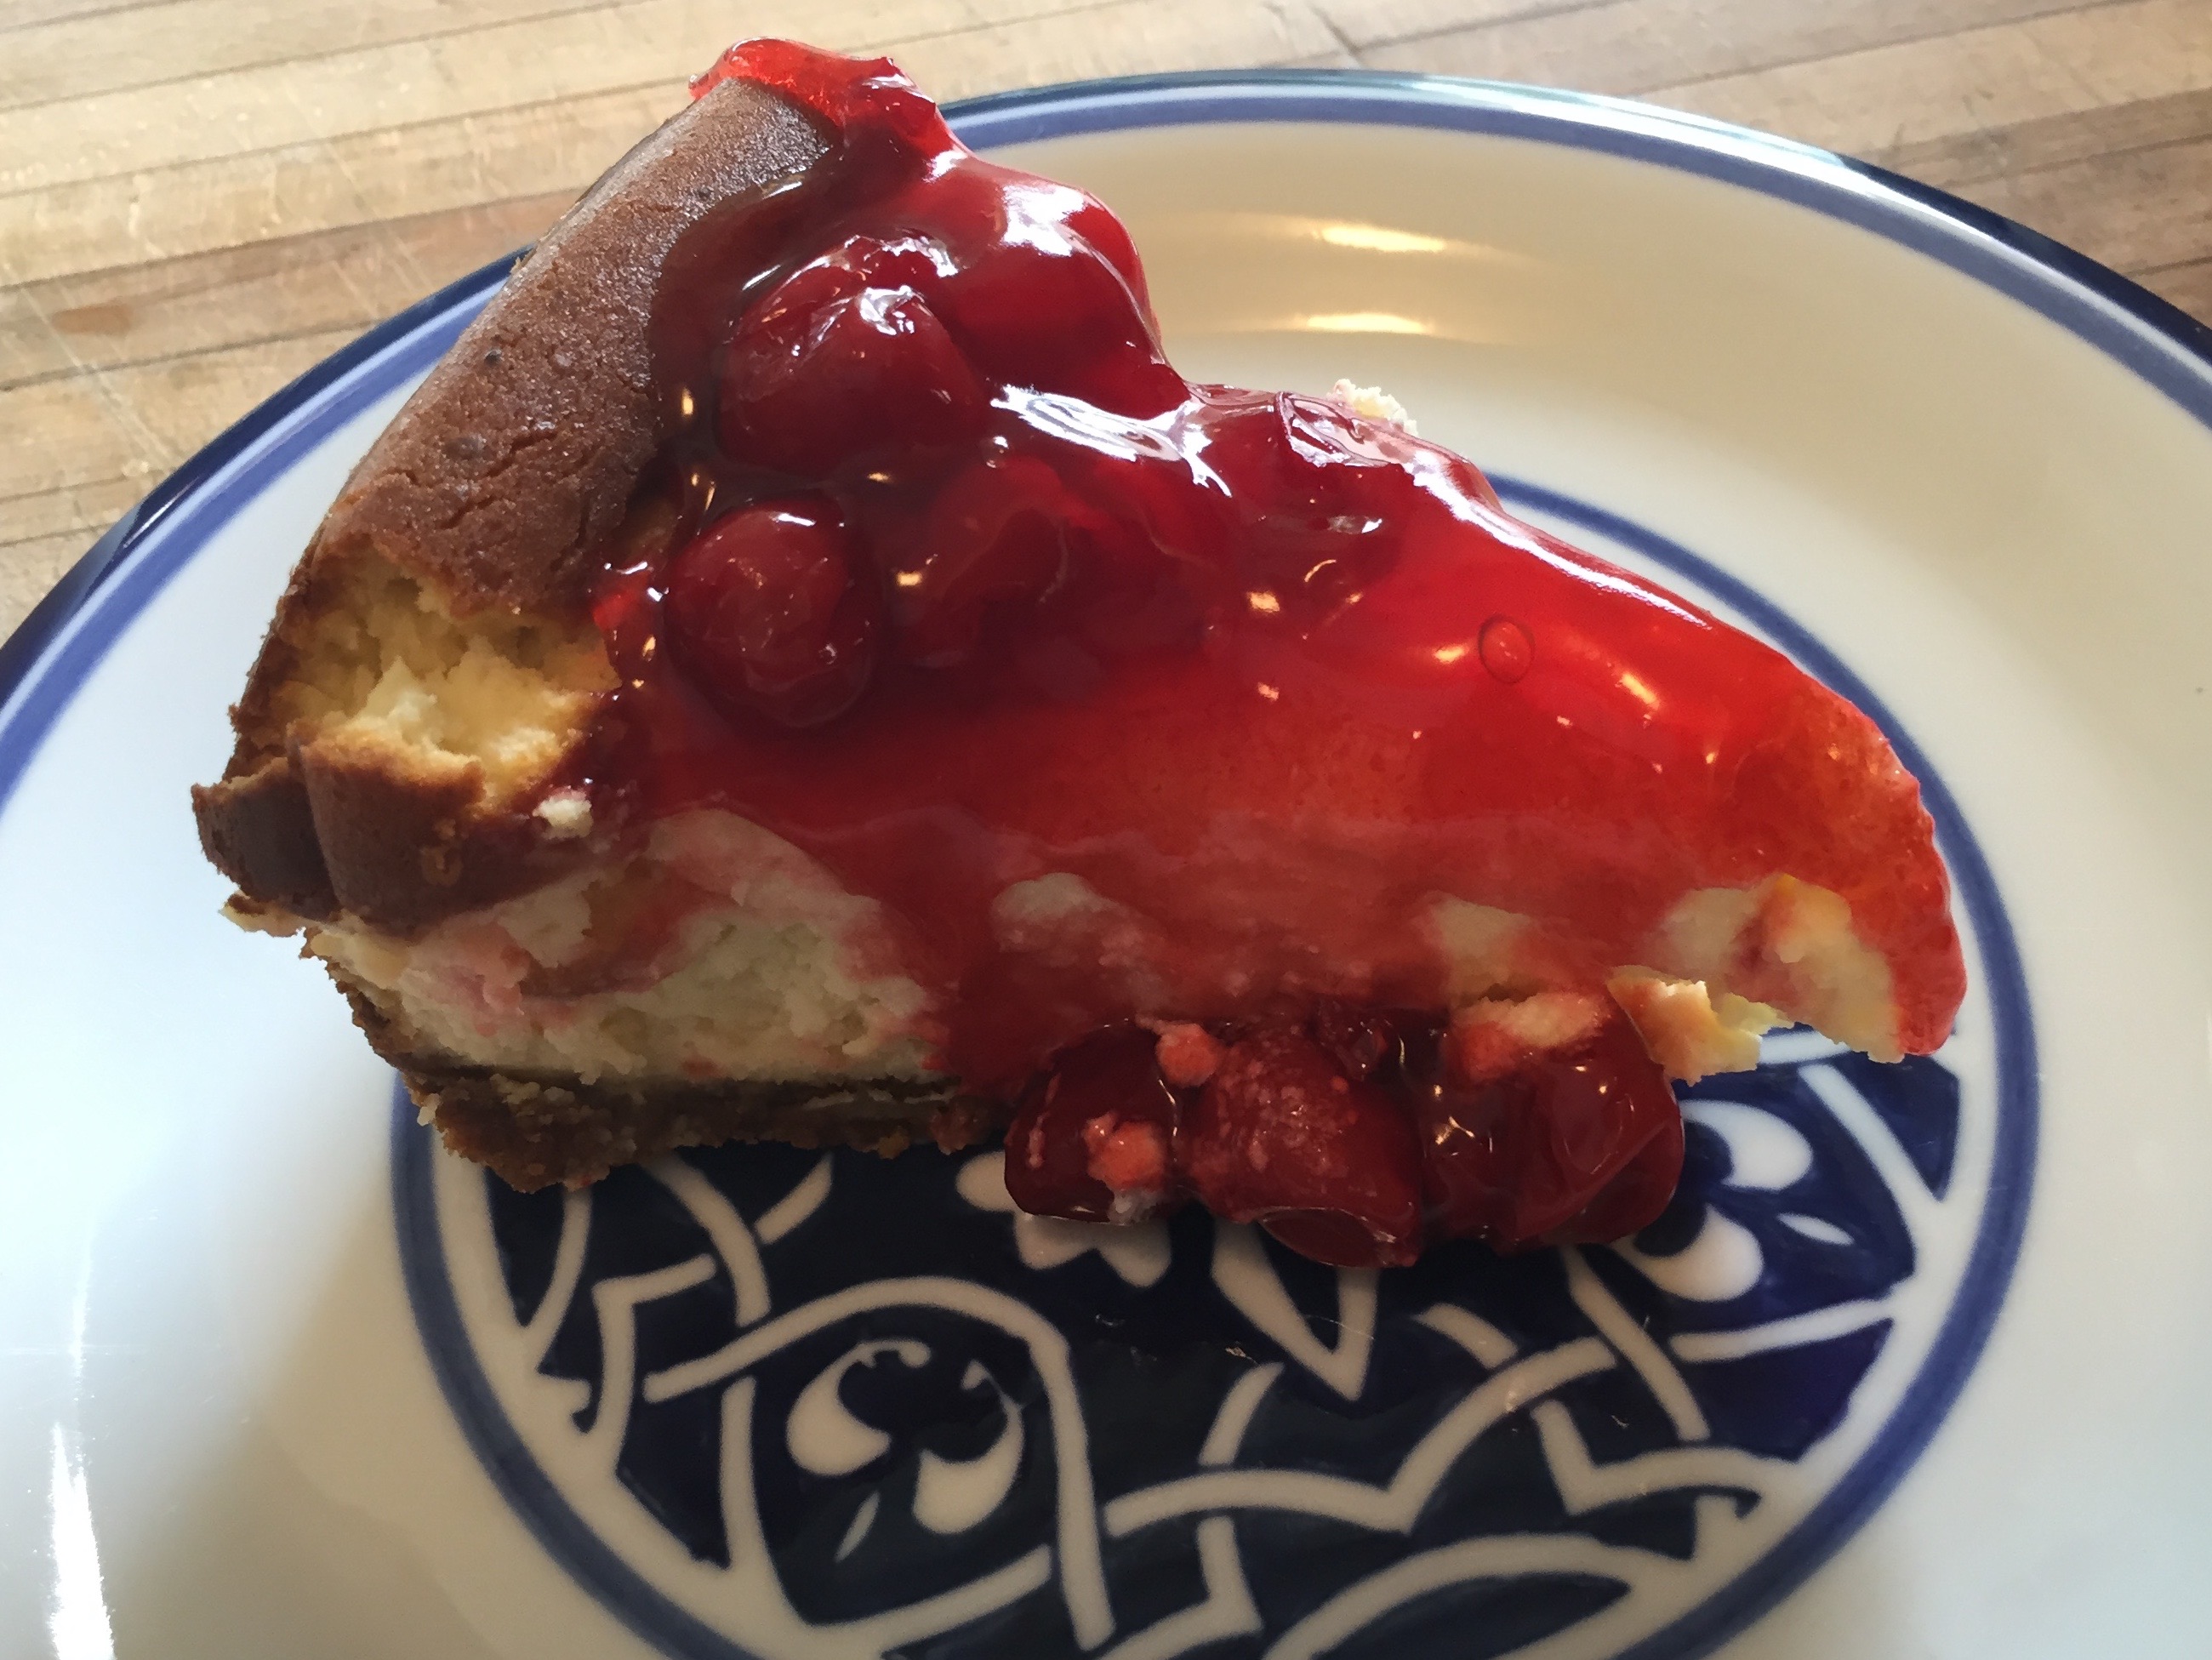
Delicious!
This cheesecake turned out delicious, creamy and moist, not to firm, but definitely filling! I made a graham cracker crust that was really delicious too. The original recipe doesn’t call for that, but I think it would be a nice addition. If you don’t like cherries, you can use pretty much any topping, or just leave it plain. That’s good too. My husband the cheesecake aficionado declared this cheesecake recipe a keeper! I hope you will be inspired to give it a try as well; it is quite worth it!
P.S. You will please forgive these horrible pictures! My previous home had a perfect location for photographing my cooking endeavors, but this new home has a giant window right by my workspace, and while that is great when working, it is bad for photographing anything. I will try to figure out a better method.


That looks yummy! I have a couple recipes that add ricotta with the standard cream cheese–and some incorporate the sour cream into the cake and some have a thin top layer. Both are yummy, but I do think the ricotta adds a moistness and smoothness that some “classic” cheesecakes miss. Surprisingly, I have a lot of recipes (in a dedicated cheesecake recipe book) that don’t call for a crust. Classic graham crusts are a must for me!
LikeLike